HOW TO PREPARE
For Your Professional Headshots
My job is to make you look and feel amazing. Your only job? Show up.
But if you want to feel extra prepared, consider this your headshot preparation guide: everything you need to know before your session at my private portrait studio in Gilbert, Arizona.

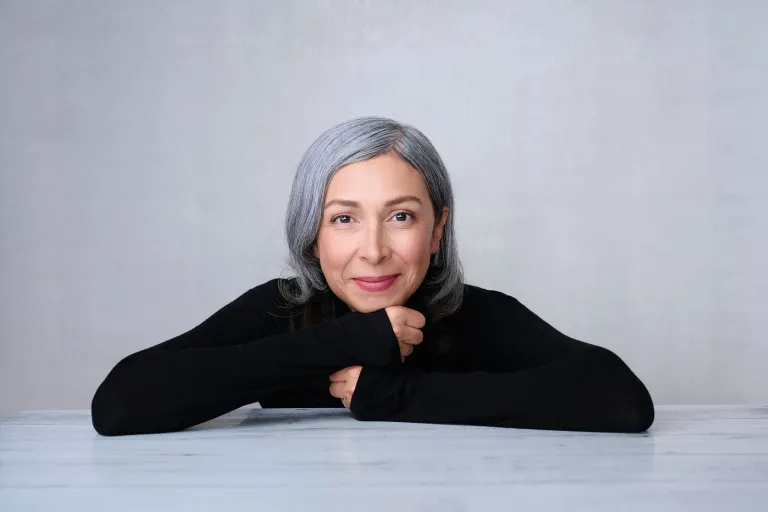
Opt for a Tailored Look
Solid colors photograph beautifully. Avoid bold patterns and logos that distract from your face. Beyond that? Opt for a tailored look that makes you feel like the best version of yourself. Not sure where you fall on the spectrum? Read my guide on blending authority and approachability in your wardrobe.
I'll help you choose once you're here. Bring more than you think. I love options, and we have time to experiment. No rush, no "we only have 15 minutes" energy.
Detailed wardrobe guidance for your headshot session
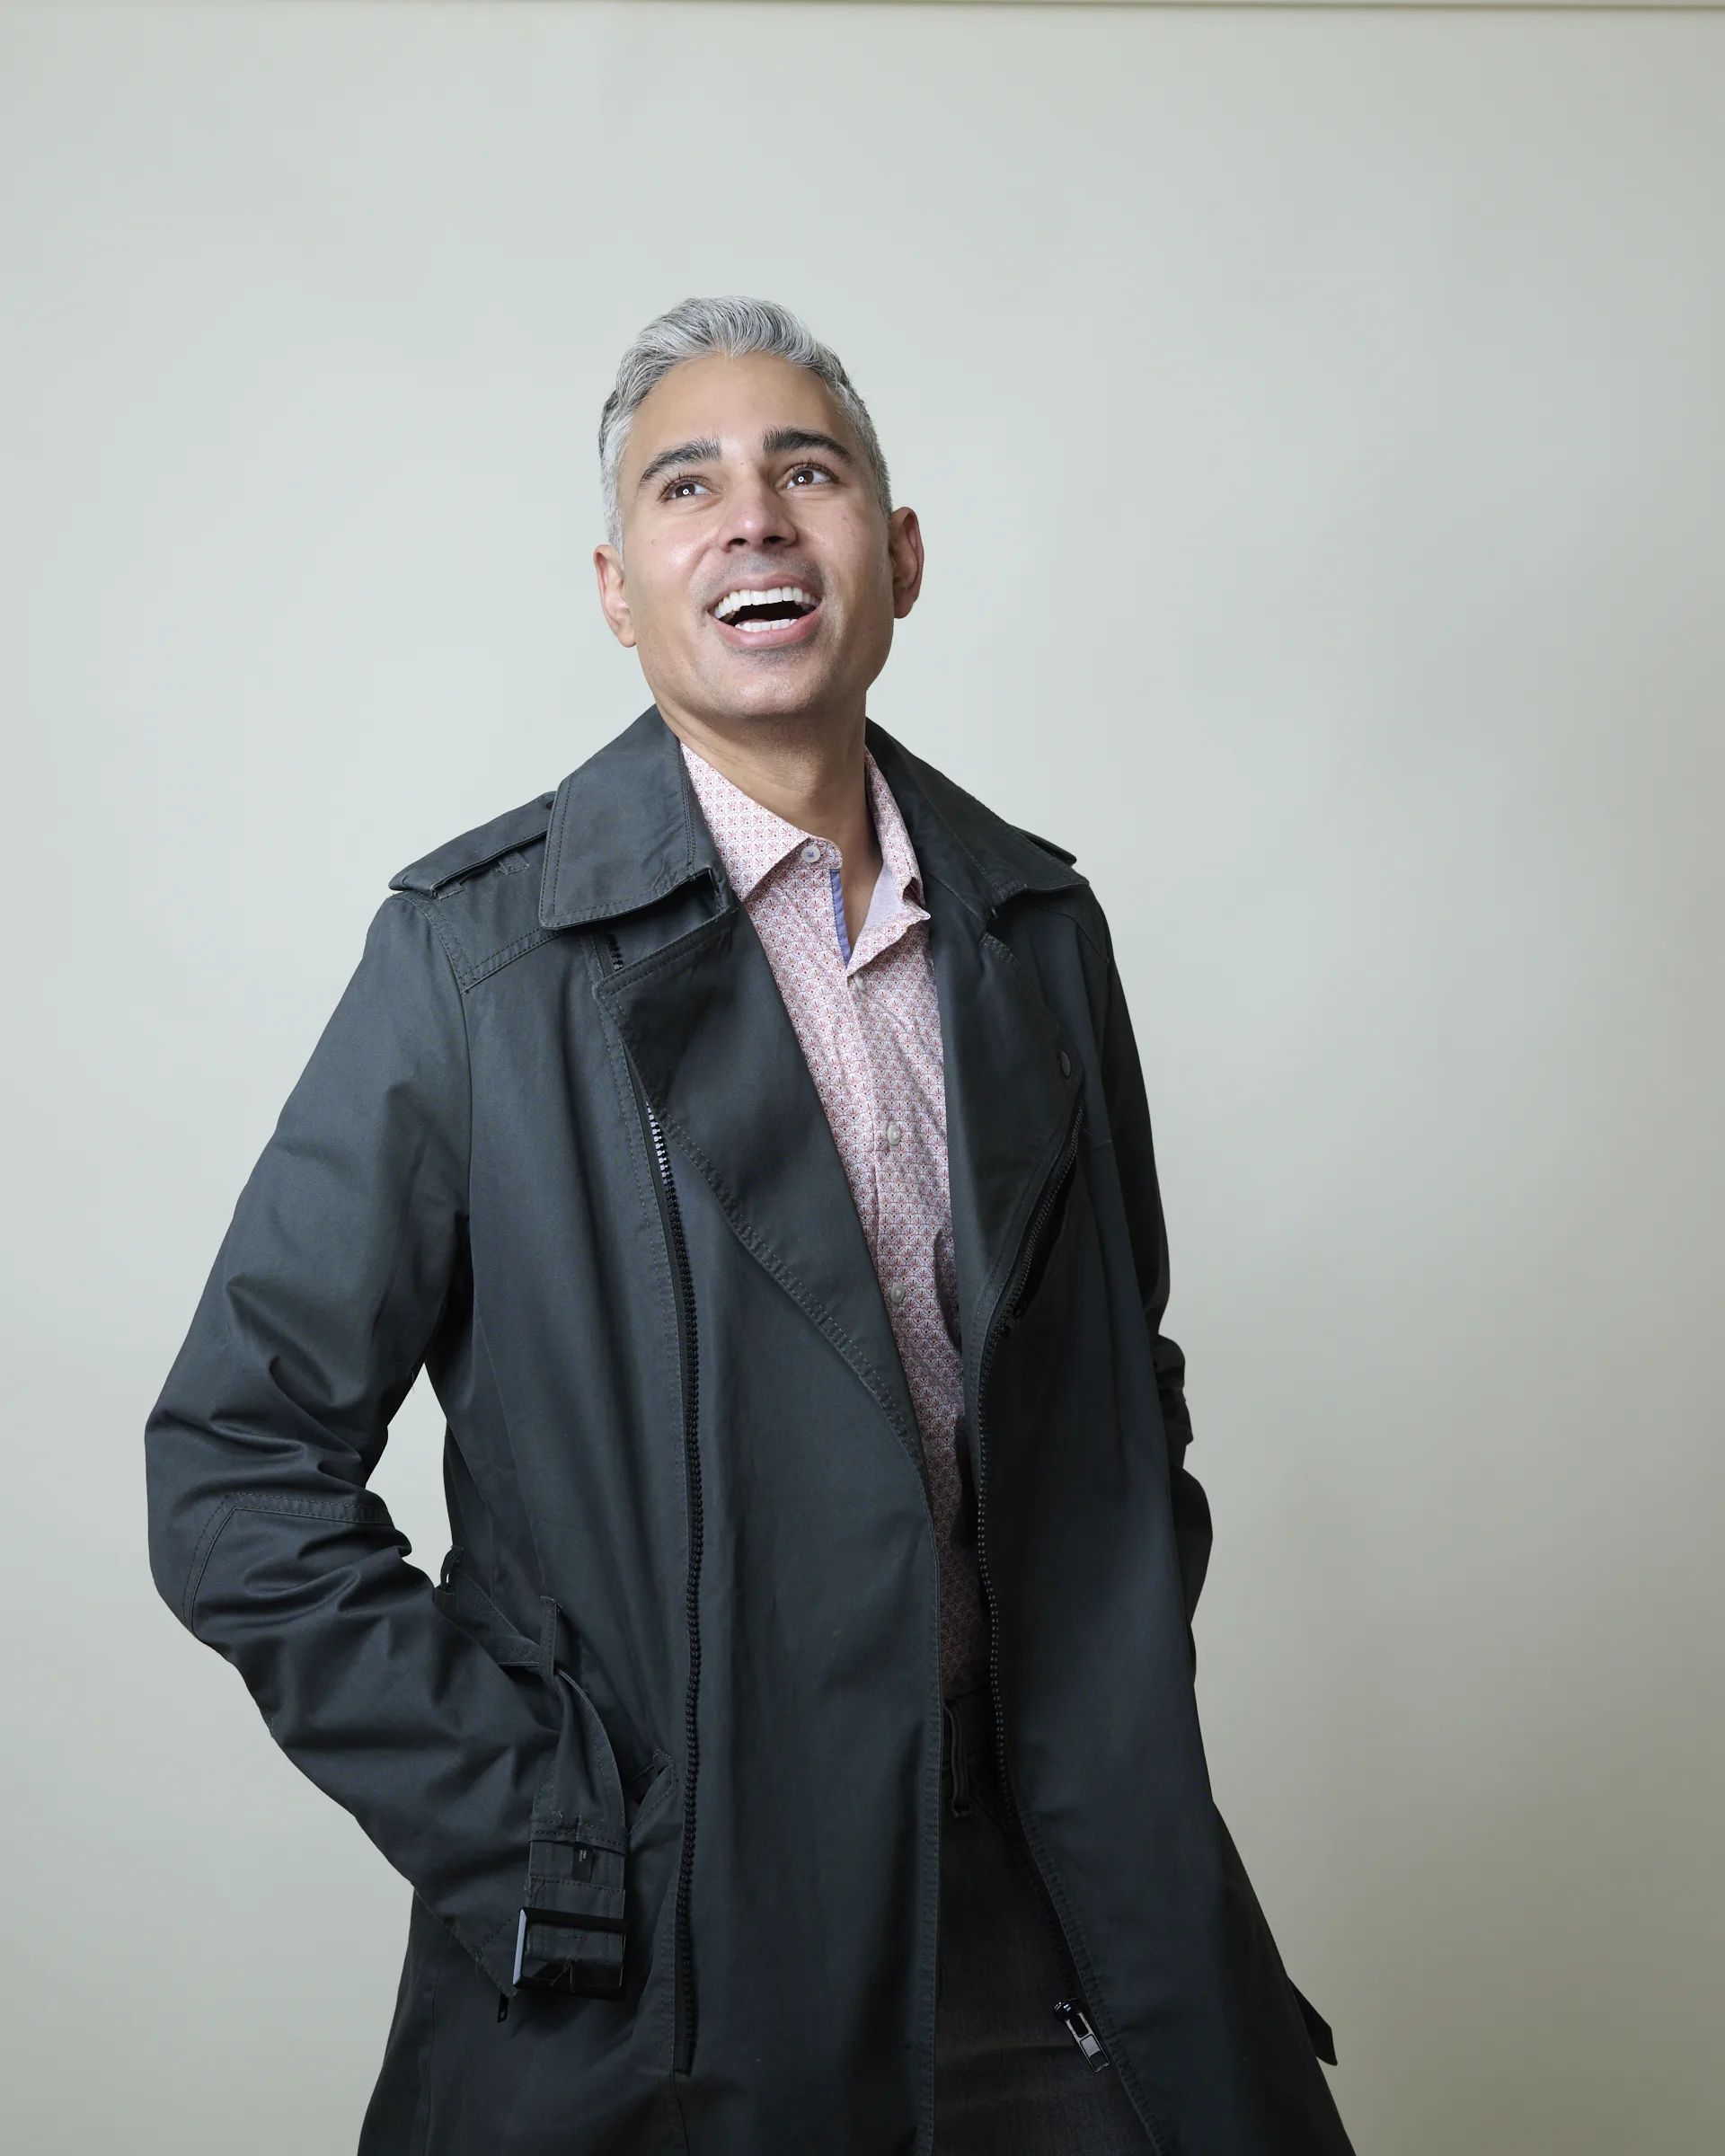
Choosing what to wear for professional headshots is one of the most common concerns my clients have before their session. The good news is that you don't need to overthink it—and you definitely don't need to buy anything new. Start with what already makes you feel confident. If you feel good in it, you'll look good in it. For men looking for specific guidance, I wrote a dedicated guide on what men should wear for professional headshots. That said, there are a few guidelines that consistently produce the best results in professional portrait photography. Solid colors in navy, black, charcoal, white, burgundy, emerald, and jewel tones photograph beautifully against both light and dark backdrops. These colors create contrast without competing with your face, which should always be the focal point of a professional headshot. Avoid busy patterns, thin stripes, and small checks—these can create a distracting moiré effect on camera. Large logos and branded clothing also pull attention away from your expression. For fit, tailored clothing always photographs better than loose or oversized pieces. A well-fitted blazer can instantly elevate a simple outfit. Layers are your friend: a jacket over a blouse, a vest over a button-down, a cardigan over a shell. Each layer gives us another look without a full outfit change. Think about necklines carefully. V-necks and scoop necks are universally flattering because they elongate the neck and draw attention upward toward your face. High crew necks can work beautifully too, especially in darker colors. Turtlenecks are a classic choice for a clean, polished look. Accessories should be minimal and intentional. Simple earrings, a delicate necklace, or a classic watch can add personality without distraction. Statement jewelry can work if it's part of your brand identity—a real estate agent known for bold necklaces, for example. Skip anything that jingles, reflects light unpredictably, or draws the eye away from your face. For men, a well-fitted suit jacket is the single most impactful item you can bring. Even paired with jeans and a casual shirt underneath, a blazer adds instant polish and structure. Bring a tie if you normally wear one, but don't force it if ties aren't part of your professional identity. For women, consider bringing both a professional blazer and something softer—a silk blouse, a fitted sweater, or a wrap top. This gives you range between corporate and approachable. If you're unsure about colors, hold each piece up near your face in natural light. You'll quickly see which colors make your skin glow and which wash you out. When in doubt, bring it. I'd rather have too many options to choose from than wish we had more. We'll go through everything together when you arrive and put together the combinations that photograph best with the backdrops we're using.

Hair & Grooming
Schedule your haircut one to three days before your session, fresh enough to look polished, but with a day or two to settle.
Pro tip: don't wash your hair the morning of unless you're doing a full blowout. Freshly washed hair loves to fly away.
And don't try anything dramatically new right before. Let's photograph the version of you that already feels like you. For a deeper dive, read my guide on hair up or down for headshots.
Complete hair and grooming guide for headshot photography
Your hair and grooming choices have a significant impact on how your professional headshots turn out. The goal is to look polished and put-together while still looking like yourself—the version of you that shows up to an important meeting, not someone unrecognizable. For haircuts and trims, timing matters. Getting a haircut the day before your session can leave you looking too freshly cut, with harsh lines around the ears and neck. One to three days before is the sweet spot for most people. This gives your hair time to settle into its natural shape while still looking neat and well-maintained. If you color your hair, schedule your color appointment about a week before your session. This ensures the color looks fresh without any risk of unexpected results too close to your shoot date. If you're seeing roots, get a touch-up beforehand—roots are one of the first things the camera picks up and they're difficult to retouch naturally. On the morning of your session, style your hair the way you normally would for an important professional event. If you typically blow-dry and style with product, do that. If you usually let your hair air-dry with minimal product, do that. The key is to look like yourself at your most polished. For those with longer hair, consider bringing a few styling tools with you—a curling iron, flat iron, or clips. We can adjust between looks, trying hair down, pulled back, or tucked behind one ear for different feels across your outfit changes. Second-day hair actually photographs better than freshly washed hair in most cases. Clean hair tends to be flyaway and lacks the texture and body that photographs well. If you must wash your hair the morning of, use a light styling product to add weight and control. Dry shampoo is your best friend for adding volume and texture without starting from scratch. For facial hair, make sure everything is trimmed and shaped the way you like it. If you maintain a beard, get it shaped a day or two before. If you're clean-shaven, shave the morning of your session to avoid five o'clock shadow, which the camera exaggerates. For eyebrows, a quick cleanup of stray hairs makes a noticeable difference in photos. You don't need a dramatic reshape—just tidy up the edges. Threading or waxing should be done at least two days before your session to allow any redness to subside. For men who don't typically groom their eyebrows, even a quick brush-through with a spoolie can make them look neater in close-up headshots.
Skin & Self-Care
Sleep and water are your secret weapons. The week before, treat yourself gently. This is your permission slip to prioritize rest.
A Simple Skincare Timeline
One week before: Stay hydrated, get good sleep, avoid new products or food that might irritate your skin. Day of: Moisturize, keep it simple, arrive feeling rested.
Skincare preparation tips for professional headshot photography
Professional headshot photography captures incredible detail—which is a wonderful thing when your skin looks healthy and radiant, and less wonderful when you're dehydrated or breaking out. The good news is that a few simple habits in the week leading up to your session can make a significant difference in how your skin photographs. Hydration is the single most impactful thing you can do for your skin before a photo session. Start increasing your water intake about a week before your appointment. Well-hydrated skin looks plumper, smoother, and more luminous under studio lighting. It also holds makeup better and reduces the appearance of fine lines. Aim for at least eight glasses of water daily in the days leading up to your session. Sleep is equally important. Under-eye circles, puffiness, and dull skin tone are all amplified by the camera. Try to get seven to eight hours of quality sleep for at least three nights before your session. If you struggle with under-eye puffiness, sleeping slightly elevated and avoiding salty foods the evening before can help. Avoid introducing new skincare products, treatments, or supplements in the two weeks before your session. New products can cause unexpected breakouts, irritation, or allergic reactions that take days to resolve. Stick with your tried-and-true routine. If you want to try a new serum or moisturizer, test it at least a month in advance. Chemical peels, microdermabrasion, laser treatments, and aggressive exfoliation should be scheduled at least two to three weeks before your session. These treatments can leave skin red, flaky, or sensitive, and the healing timeline varies from person to person. Even gentle at-home peeling masks should be avoided in the final week. On the morning of your session, keep your skincare routine simple. Cleanse, moisturize, and apply sunscreen if you'll be in the sun before arriving. Avoid heavy creams or products that leave a residue, as these can create unwanted shine under studio lights. A lightweight, matte moisturizer is ideal. For those who wear makeup to their session, less is usually more for professional headshots. Foundation should match your skin tone exactly—test it in natural light, not just bathroom lighting. Avoid anything with shimmer or glitter particles, as these reflect studio lights unpredictably. A mattifying primer can help control shine throughout the session. If you don't typically wear makeup, that's perfectly fine. Good studio lighting is designed to be flattering, and many of my best headshots are of clients wearing no makeup at all. I adjust my lighting setup to complement your natural skin tone and features. For lips, a tinted lip balm or natural-tone lipstick photographs well without looking overdone. Bold lip colors can work beautifully if they're part of your signature look, but avoid colors you've never worn before. Regarding diet, try to limit alcohol, excessive sodium, and inflammatory foods in the two to three days before your session. Alcohol dehydrates the skin and can cause puffiness. High-sodium foods contribute to water retention, which shows up as facial bloating. None of this needs to be extreme—just be a little gentler with yourself than usual.

What to Bring
Bring 3–5 outfit options, make-up essentials, a curling iron, and any inspiration photos that catch your eye. When in doubt, bring more. We'll edit down together.
Complete checklist of what to bring to your headshot session
Having the right items with you at your headshot session ensures we can handle any situation and make the most of our time together. Here's a complete checklist based on what I've learned from photographing hundreds of professionals in my Gilbert, Arizona studio. Clothing is the most important thing to bring, and more is always better. Pack three to five complete outfit options, including tops, jackets, and any layering pieces. Hang everything on hangers to minimize wrinkles—my studio has a steamer, but prevention is easier than correction. Include a range of styles: something corporate and polished, something business casual, and something that shows your personality. If you're not sure about an outfit, bring it anyway. We'll decide together once we see how each piece looks against the backdrops. Bring a lint roller. This is the single most useful small item for a photo session. Dark clothing picks up lint, pet hair, and dust like a magnet, and these show up clearly in high-resolution photography. A quick roll between outfit changes keeps everything looking pristine. Touch-up essentials make a difference throughout the session. For women, bring your lipstick or lip color, powder for shine control, and any concealer you use. For men, blotting papers or a mattifying powder help control shine that builds under studio lights. Everyone should bring a small mirror and a comb or brush for quick adjustments between looks. Bring inspiration photos if you have them—screenshots from LinkedIn, magazine clippings, or images you've saved on your phone of headshot styles you admire. These help me understand the look and feeling you're going for, and they give us a starting point for posing and expression direction. This is especially helpful if you have difficulty describing what you want in words. Shoes matter even if we're only photographing from the waist up. The shoes you wear affect your posture, your confidence, and how you carry yourself. If you feel taller and more powerful in heels, wear heels. If you feel more grounded in boots, wear boots. Your physical comfort directly translates to your expression and body language in photos. A water bottle is essential. Studio lighting is warm, and staying hydrated throughout the session keeps your skin looking its best and your energy levels up. I have water and coffee available, but many clients prefer to bring their own bottle. For glasses wearers, bring your glasses even if you're considering shooting without them. We can try both looks and decide which photographs better. If you have a backup pair or frames without prescription lenses, bring those too—sometimes one frame style photographs better than another depending on how they interact with studio lighting. Leave heavy perfume or cologne at home, as the studio is a small, enclosed space and strong scents can become overwhelming during a longer session. Also leave behind any jewelry you're uncertain about—it's easier to add accessories than to realize mid-session that a necklace is catching light in every frame.
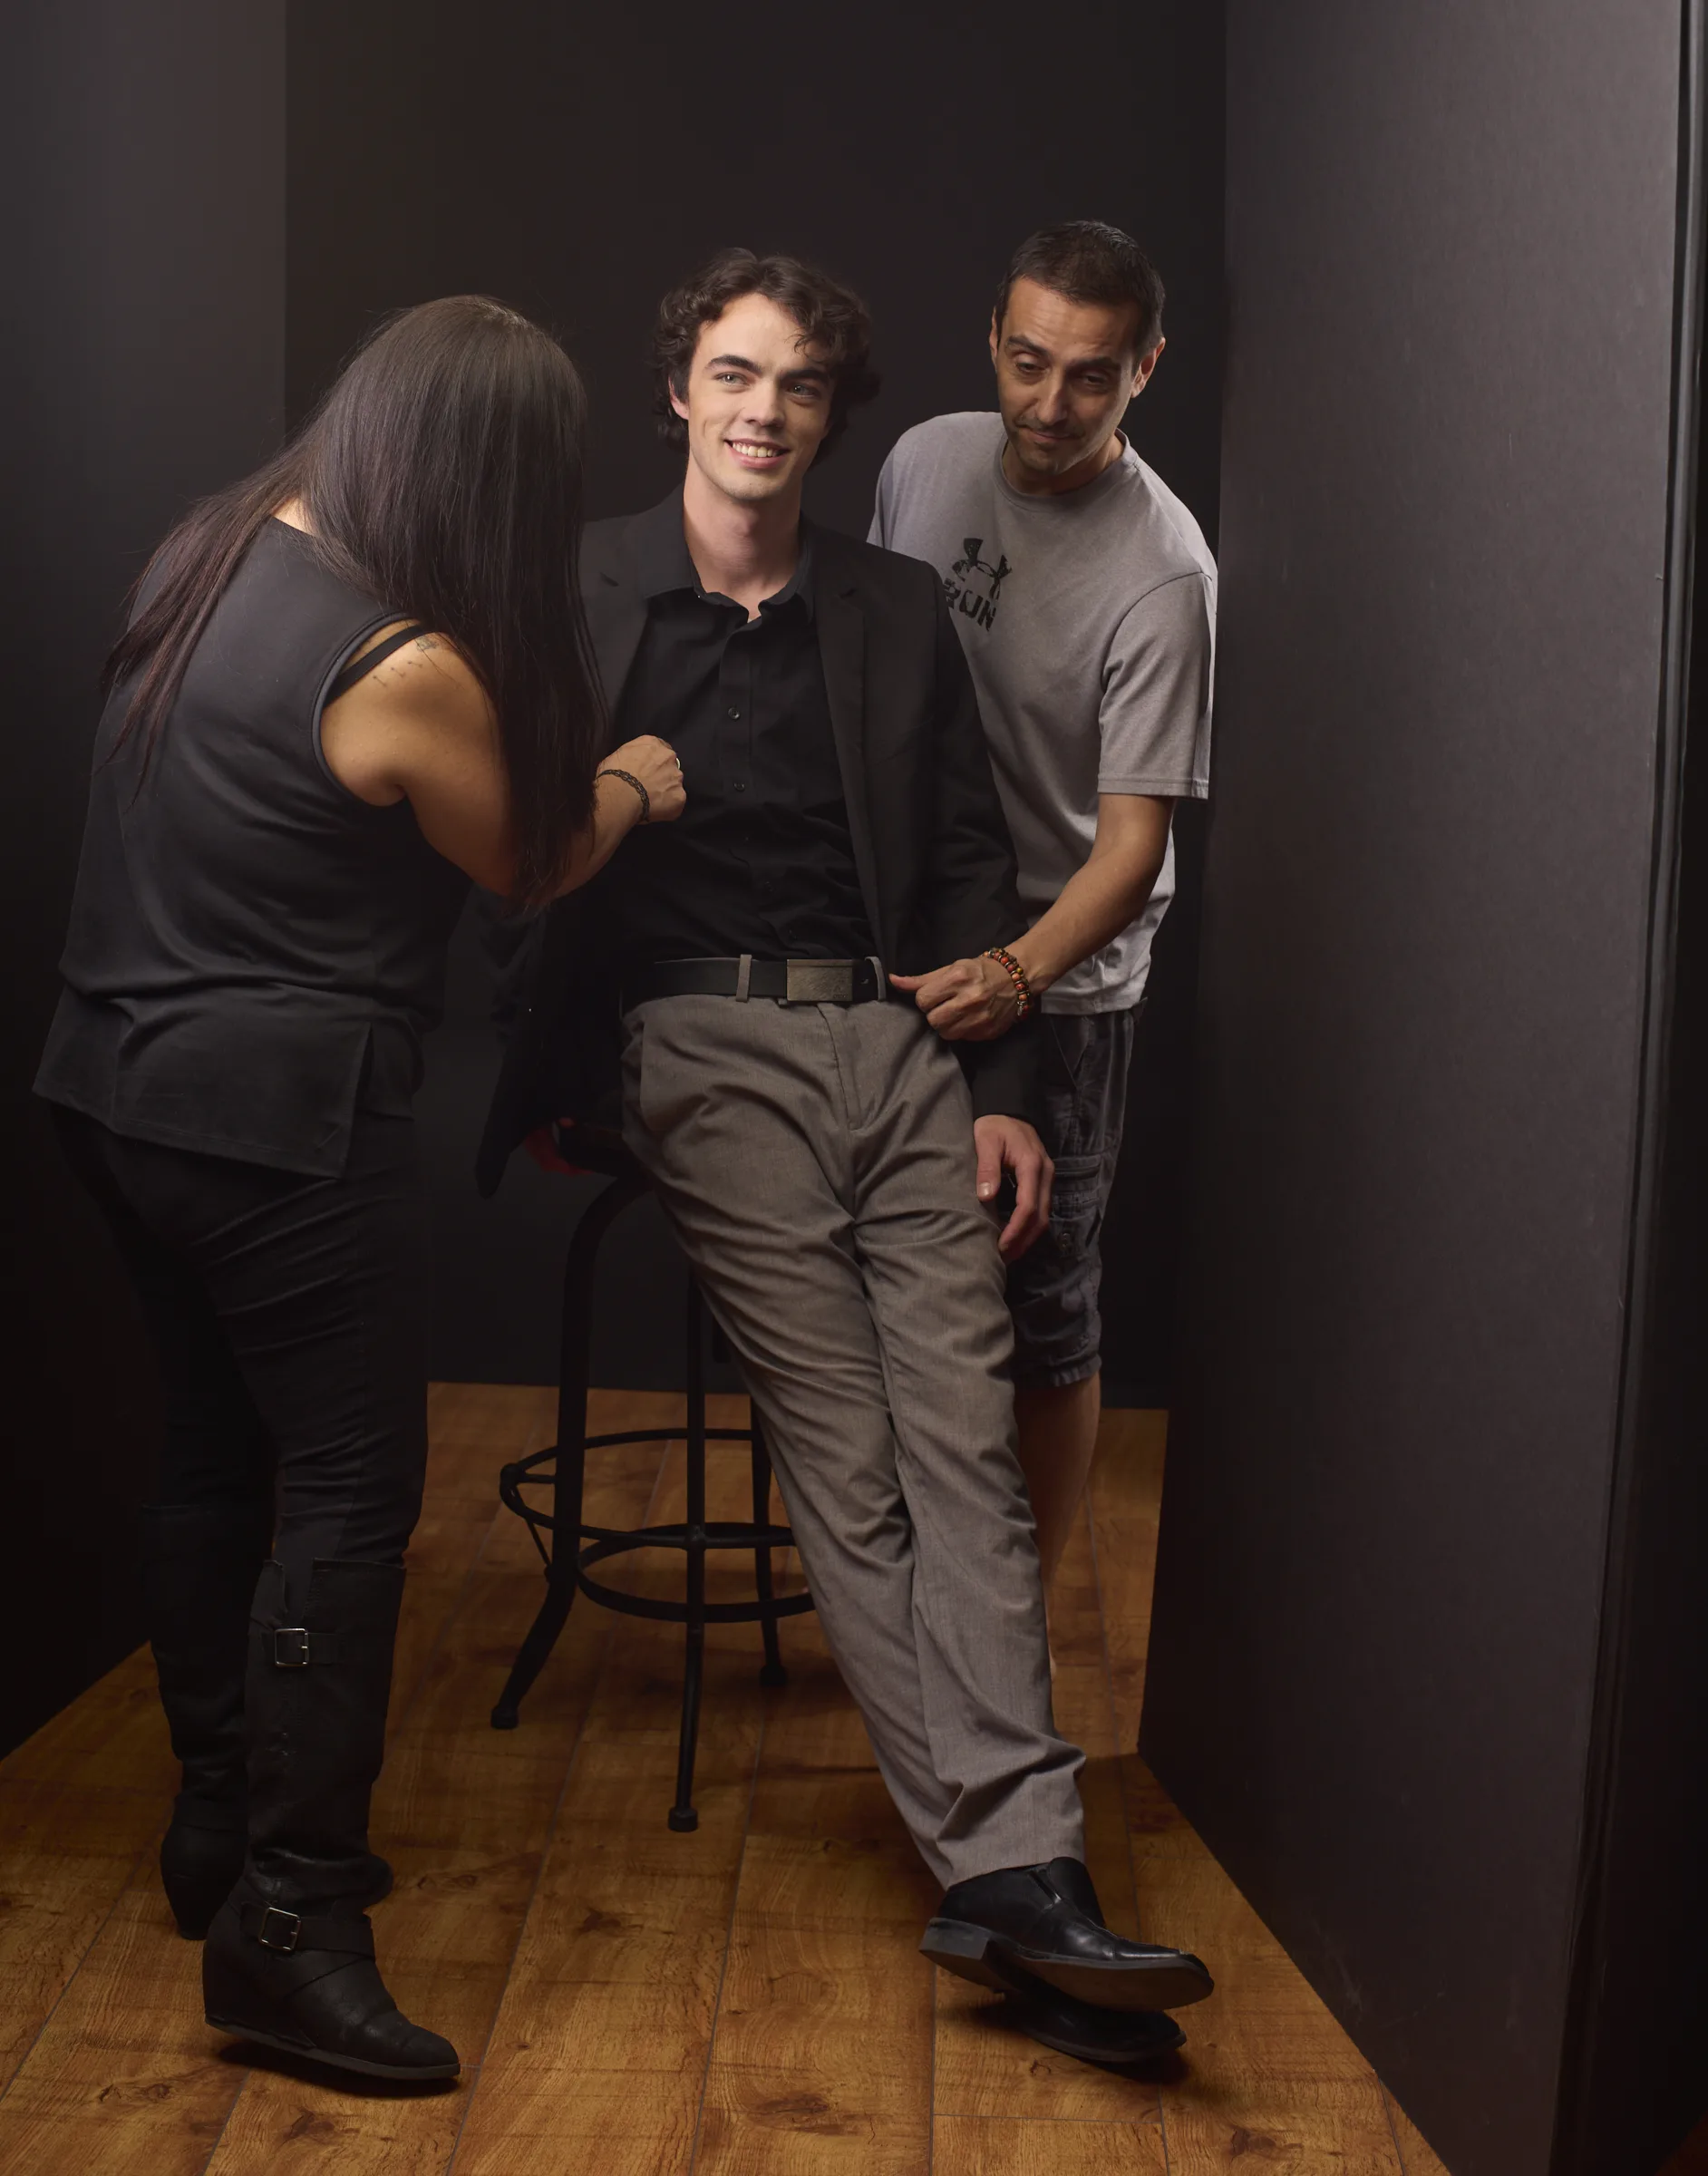
What to Expect at a Headshot Session
When you arrive, we'll start with a drink and conversation. No camera yet. I want to learn what you're hoping for and help you settle in.
Then we'll move through outfits and backgrounds at your pace. Most sessions take about an hour, but there's no clock ticking; if we need more time, we take it.
You'll receive your photos within ten business days.
What happens during a professional headshot session in Gilbert, Arizona
Knowing exactly what to expect during your professional headshot session helps ease any nerves and allows you to arrive feeling confident and prepared. Here's a detailed walkthrough of the experience at my private portrait studio in Gilbert, Arizona. When you arrive at the studio, the first thing you'll notice is that it doesn't feel clinical or intimidating. It's a private, comfortable space designed to help you relax. We'll start with something to drink and spend ten to fifteen minutes just talking. I want to hear about your work, your goals, and what you're hoping to get from your photos. This conversation isn't small talk—it helps me understand how to photograph you in a way that supports your professional brand. We'll also review the outfits you brought and select the first look together. I'll suggest combinations based on what works best with the backdrops I have available and the overall feel you're going for. If something isn't working, I'll tell you honestly. This is a collaborative process. Once we start shooting, I direct everything. I'll guide your posture, the angle of your chin, where to look, what to do with your hands, and how to adjust your expression. You don't need to know how to pose or have any modeling experience. Most of my clients have never had professional photos taken before, and that's completely normal. I'll talk you through every adjustment in plain language. Throughout the session, we'll change outfits and backdrops multiple times. Each change gives us a different feel—corporate against a dark backdrop, approachable against a lighter one, creative against a hand-painted surface. My studio has multiple backdrops available including hand-painted canvas, solid seamless paper, and textured surfaces that add visual depth without distracting from you. The shooting itself typically takes about forty-five minutes to an hour, though sessions can run longer if we're exploring additional looks or if you want to try something different. I never rush a session. The total time in the studio, including wardrobe selection and any breaks, is usually about an hour and a half. After the session, I'll carefully edit and retouch your selected images. This includes color correction, skin smoothing where appropriate, removing temporary blemishes, and ensuring consistent quality across all final images. I don't over-retouch—you'll look like yourself, just at your absolute best. You'll receive your final edited photos within ten business days, delivered digitally in high resolution suitable for print and optimized versions for web and social media use. Your images come with full usage rights for all professional and personal purposes.

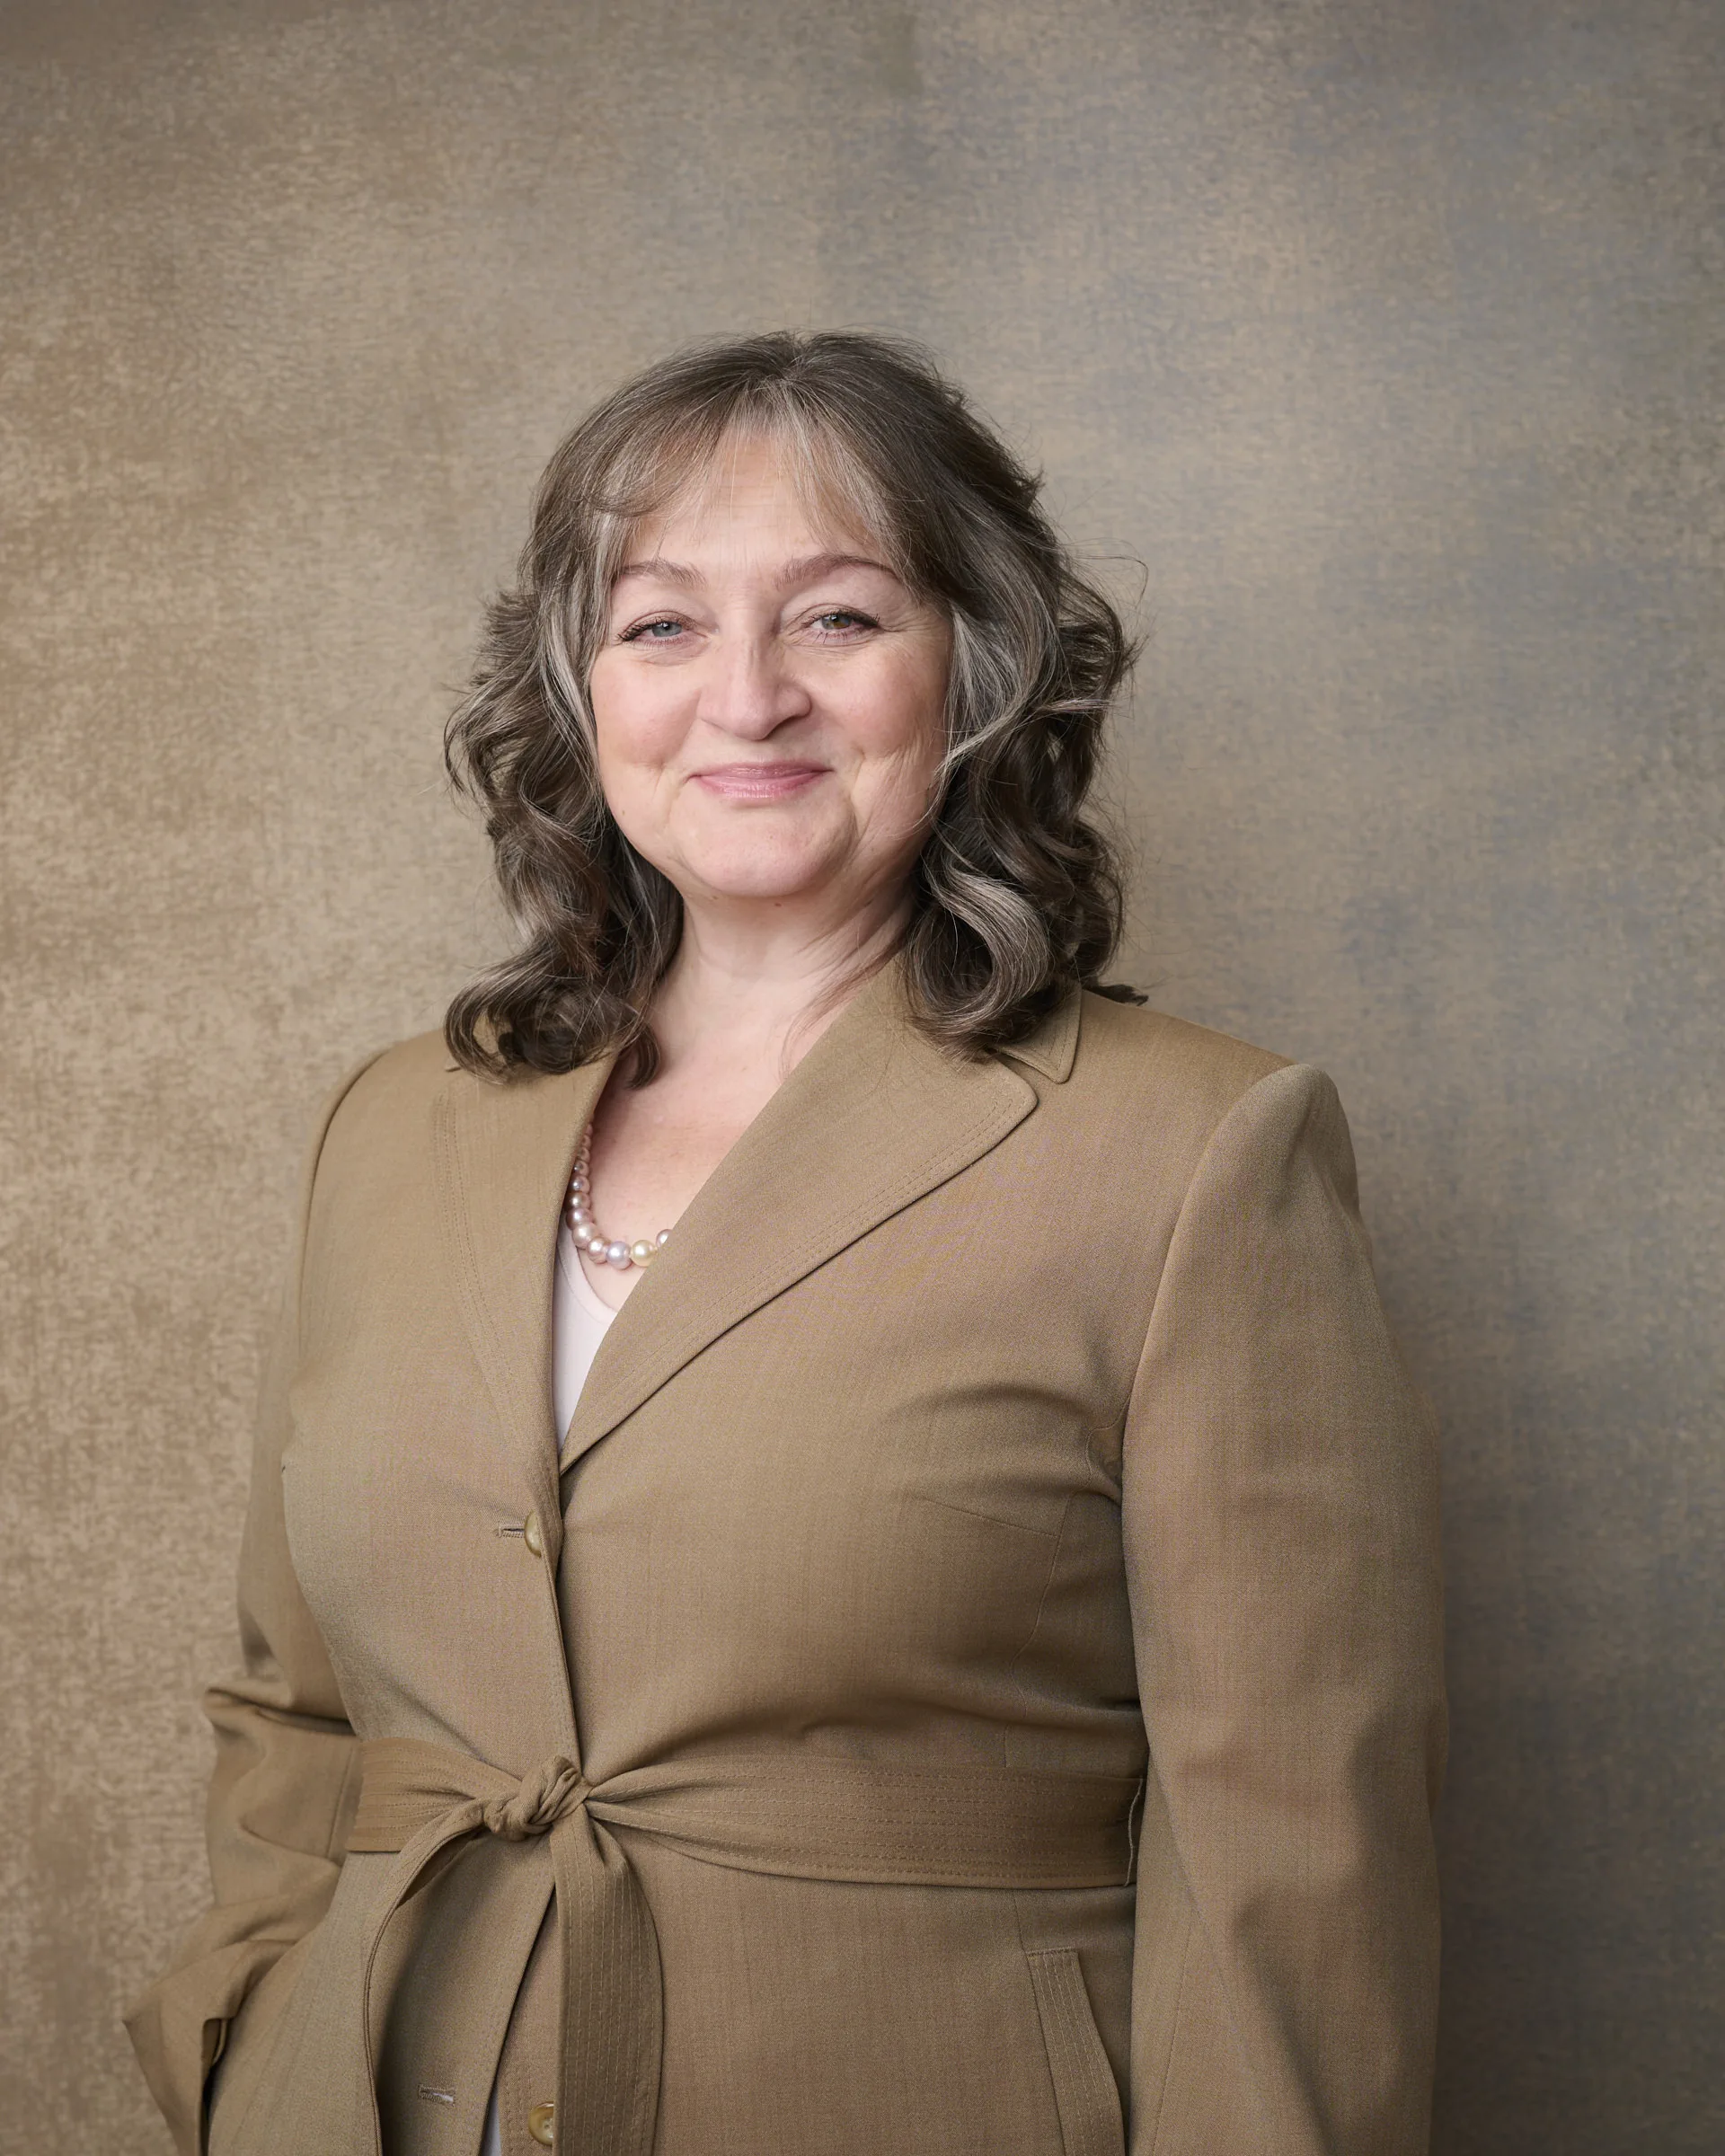
Mindset
Nerves are normal, and honestly, most of my clients tell me they were dreading this.
My favorite compliment? "That was actually fun."
I'll guide every pose, every expression. You don't need to know what to do with your hands. That's my job.
Overcoming camera anxiety and feeling confident during your headshot session
If you're nervous about your upcoming headshot session, you're in excellent company. The vast majority of my clients tell me they were anxious beforehand—some had been putting it off for months or even years. Camera anxiety is one of the most common concerns I hear, and it's completely understandable. Most people's experience with being photographed involves awkward group photos, unflattering snapshots, or that dreaded moment of staring into a lens with no idea what to do with their face. Professional headshot photography is an entirely different experience, especially when you're working with a photographer who specializes in directing expressions and making people comfortable. The myth of being photogenic is exactly that—a myth. Being photogenic isn't a genetic trait some people have and others don't. It's the result of good lighting, thoughtful posing, genuine expression, and a photographer who knows how to bring out the best in every face. I've photographed hundreds of people who told me they hate having their picture taken, and nearly all of them left surprised by how much they enjoyed the experience and how good they looked in their images. One of the biggest sources of anxiety is not knowing what to do. What do I do with my hands? Where do I look? How do I smile without it looking forced? These are all valid concerns, and the answer is simple: you don't need to figure any of it out. That's my job. I direct every detail—the tilt of your head, the position of your shoulders, the direction of your gaze, the degree of your smile. All you need to do is follow my guidance and trust the process. Forced smiles are something I actively work to avoid. I don't ask clients to smile on command. Instead, I create moments of genuine expression through conversation, humor, and a relaxed atmosphere. The best headshots come from authentic micro-expressions—a slight softening of the eyes, a natural upturn of the mouth, a moment of quiet confidence. These can't be manufactured, but they can be guided. I'll also show you images on the back of the camera throughout the session so you can see how you're looking in real time. This builds confidence as the session progresses, and most clients visibly relax once they see the first few frames. It's a feedback loop—the more confident you feel, the better you look, which makes you feel even more confident. If you tend to be self-critical, I want you to know that I've heard it all. Every insecurity you have about your appearance, I've heard from someone else who ended up loving their photos. My job is to see what's beautiful about you and photograph it in the most flattering way possible. Trust that I know how to use light, angle, and expression to create images you'll be proud to share. The single best thing you can do to prepare mentally is to let go of the need for perfection. You don't need to look twenty years younger or ten pounds lighter. You need to look like you—confident, professional, and approachable. That's achievable for every single person who walks through my studio door.
What's Waiting for You
Hand-painted backdrops, zero rush, and a photo you'll love.
These headshot session tips come from photographing hundreds of professionals, executives, and actors. The common thread? Everyone's nervous, and everyone leaves surprised by how much fun they had.
“From the perfect preparation reminders to the personalized board greeting me at the entry - the whole experience was delightful. She is professional and puts you at ease. I never felt rushed, changed outfits several times, and her prompts were perfect.”— Jesslyn W.
About an hour, but I don't watch the clock. If we're on a roll or you want to try one more look, we keep going. You'll never feel rushed out the door.
If you wear makeup daily, do what you normally do, just a bit more polished. If you want a makeup artist, I can recommend someone wonderful. And if makeup isn't your thing, great. We'll make sure your skin looks fantastic with good lighting. For my full breakdown, read best makeup for headshots.
I recommend 3–5 options. More is always better. I'd rather edit down than wish we had more choices. And yes, you can absolutely change your mind once you see the backdrops.
You are. You just haven't been photographed by someone who knows how to see you yet. This is literally my specialty: helping camera-shy people discover they actually love how they look.